
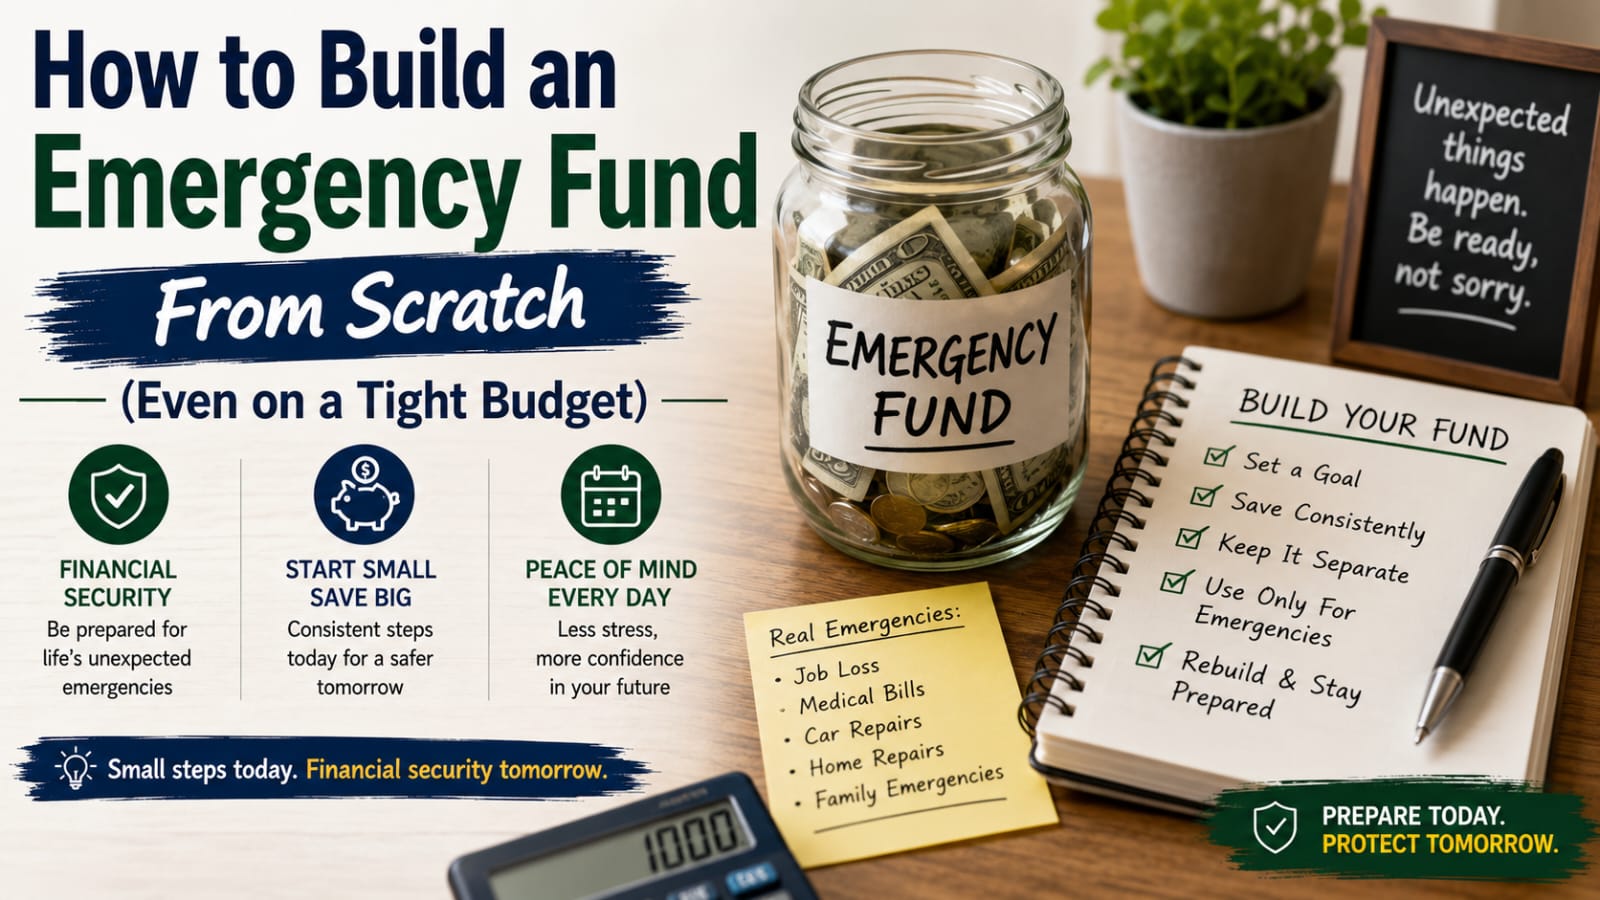
There is a specific kind of dread that comes with a broken boiler, a sudden job loss, or an unexpected car repair when you have no savings to fall back on. That dread is exactly what an emergency fund exists to remove. It will not stop unexpected things from happening, but it will stop them from becoming a financial crisis.
If you are starting from zero, building an emergency fund can feel like an impossible mountain to climb, especially if money already feels tight. The good news is that it does not require a huge income or years of perfect discipline. It requires a clear plan, small consistent steps, and a bit of patience. Here is exactly how to build one, even if you are starting with nothing.
What an Emergency Fund Actually Is (and Isn’t)
An emergency fund is money set aside specifically for genuine emergencies: a job loss, an urgent medical or dental bill, an essential home or car repair, or an unavoidable travel emergency. It is not for a sale you do not want to miss, a holiday you have been eyeing, or a new phone because your current one feels outdated.
The purpose of this fund is to create a buffer between you and debt. Without one, an unexpected £500 or $500 expense often ends up on a credit card, turning a temporary problem into a longer-term one with interest attached.
How Much Should You Actually Save?
The commonly cited target is three to six months of essential living expenses, but that number can feel discouraging and even unrealistic when you are starting from zero. Instead, think of the journey in stages.
Stage one: a starter fund of $500-$1,000 (or roughly £500-£800). This covers most common minor emergencies and gets you off the ground quickly, which matters more for motivation than reaching a large number slowly.
Stage two: one month of essential expenses. This means enough to cover rent, utilities, groceries, transport, and minimum debt payments for one full month if your income stopped entirely.
Stage three: three to six months of essential expenses. This is the full safety net most financial guidance recommends, and it is particularly important if your income is irregular, you are self-employed, or you are the sole income earner in your household.
Reaching stage one alone dramatically reduces financial stress for most people, so do not let the idea of a six-month fund stop you from starting today.
Step 1: Open a Separate Account
Keep your emergency fund completely separate from your everyday spending account. If it sits in the same account you use for daily purchases, it is far too easy to quietly dip into it for non-emergencies without even registering that you are doing so.
A simple, easily accessible savings account works well for this purpose. It does not need to earn the highest possible interest rate; the priority here is accessibility and separation, not maximizing returns. Many people choose a high-yield savings account for a small interest boost while keeping funds liquid and reachable within a day or two.
Step 2: Set a Specific, Small First Target
Rather than aiming immediately for “three to six months of expenses,” which can feel abstract and overwhelming, set a specific number for your first milestone. $500 or £400 is a common and achievable starting target that can absorb most minor emergencies.
Having a concrete, smaller number makes progress visible much sooner, which matters enormously for staying motivated. Watching a balance grow from $0 to $500 feels far more encouraging than staring at a distant $15,000 target with no visible progress for months.
Step 3: Find Money You Did Not Know You Had
If your budget already feels stretched thin, building an emergency fund might seem impossible. But most people can find some money without dramatically overhauling their lifestyle:
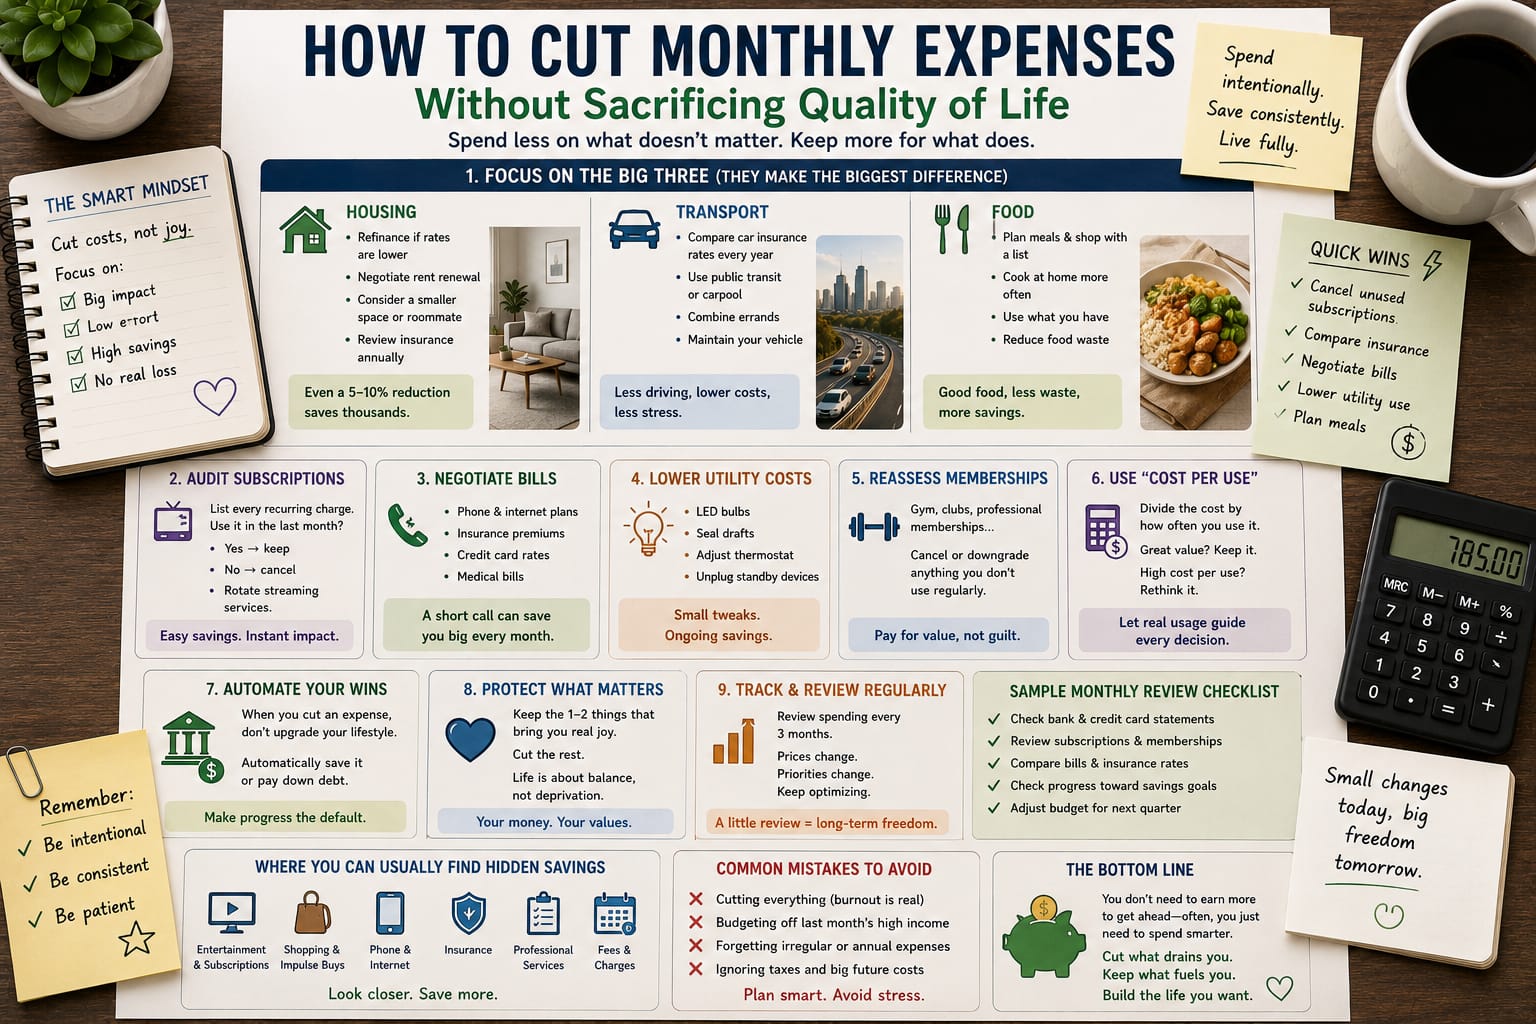
Review subscriptions. Streaming services, apps, and memberships you forgot about can quietly cost £30-£100 a month combined.
Redirect windfalls. Tax refunds, work bonuses, cashback rewards, or gift money can jumpstart your fund quickly without affecting your regular budget at all.
Sell things you no longer use. Clothes, electronics, and furniture sitting unused can be turned into starter fund money relatively quickly through resale apps or local marketplaces.
Use the 1% start. If nothing else feels possible, start with just 1% of your income. It might only be £20 or $20 a month, but establishing the habit matters more initially than the amount.
Step 4: Automate Small, Consistent Contributions
Consistency beats intensity when building any new financial habit. Setting up an automatic transfer of even $25 or £20 per payday into your emergency fund account removes the need for willpower and ensures steady progress even during busy or stressful months.
Automating this process also prevents the common trap of “saving whatever is left over,” which for most people ends up being nothing at all, since spending naturally expands to fill available money.
Step 5: Use a Visual Tracker
There is real psychological value in seeing progress. A simple savings tracker, whether a printed chart, a spreadsheet, or an app that shows a progress bar toward your goal, can make the process feel tangible and rewarding rather than abstract.
Some people find success breaking a $1,000 goal into 100 units of $10 each, coloring in a square every time they hit another $10, which turns a large goal into a series of small, satisfying wins.
Step 6: Protect the Fund Once It Exists
Building the fund is only half the challenge; protecting it from being spent on non-emergencies is the other half. Before withdrawing anything, ask yourself honestly: is this truly unavoidable and urgent, or is it something that could wait, be planned for separately, or be avoided altogether?
A simple rule that works well: if it was foreseeable (a birthday, an annual subscription renewal, a holiday), it is not a true emergency and should come from a different budget category, not this fund.
Where to Keep Your Emergency Fund
The right place for an emergency fund balances two competing needs: it should be easy to access quickly, but not so easy to access that you are tempted to dip into it casually.
High-yield savings accounts are the most common choice, offering better interest than a standard current account while still allowing access within a day or two.
Avoid investing your emergency fund in stocks or other volatile assets. The whole purpose of this money is stability and immediate access, and market downturns tend to coincide with the exact economic conditions, like job losses, that might require you to use the fund in the first place.
Avoid accounts with withdrawal penalties or long lock-in periods, since true emergencies do not wait for maturity dates.
What Counts as a Real Emergency?
To keep the fund working as intended, it helps to have a clear mental list of what qualifies:
Job loss or a significant, unexpected drop in income
Urgent medical or dental treatment not covered by insurance
Essential home repairs that affect safety or basic function (a broken boiler in winter, a roof leak)
Essential car repairs needed to get to work
Emergency travel for a genuine family crisis
Notice what is missing from this list: sales, upgrades, planned events, and “good deals.” These belong in separate savings categories, not the emergency fund.
Rebuilding After You Use It
If you do need to dip into your emergency fund, treat rebuilding it as an immediate, non-negotiable priority, just as you did the first time around. Adjust your budget temporarily if needed, redirect any extra income, and get back to your target amount before shifting focus back to other financial goals like extra debt repayment or investing.
Using your emergency fund for its intended purpose is not a failure. It is exactly what it was built for, and rebuilding it afterward is simply part of the ongoing process of maintaining financial stability.
Balancing an Emergency Fund With Debt Repayment
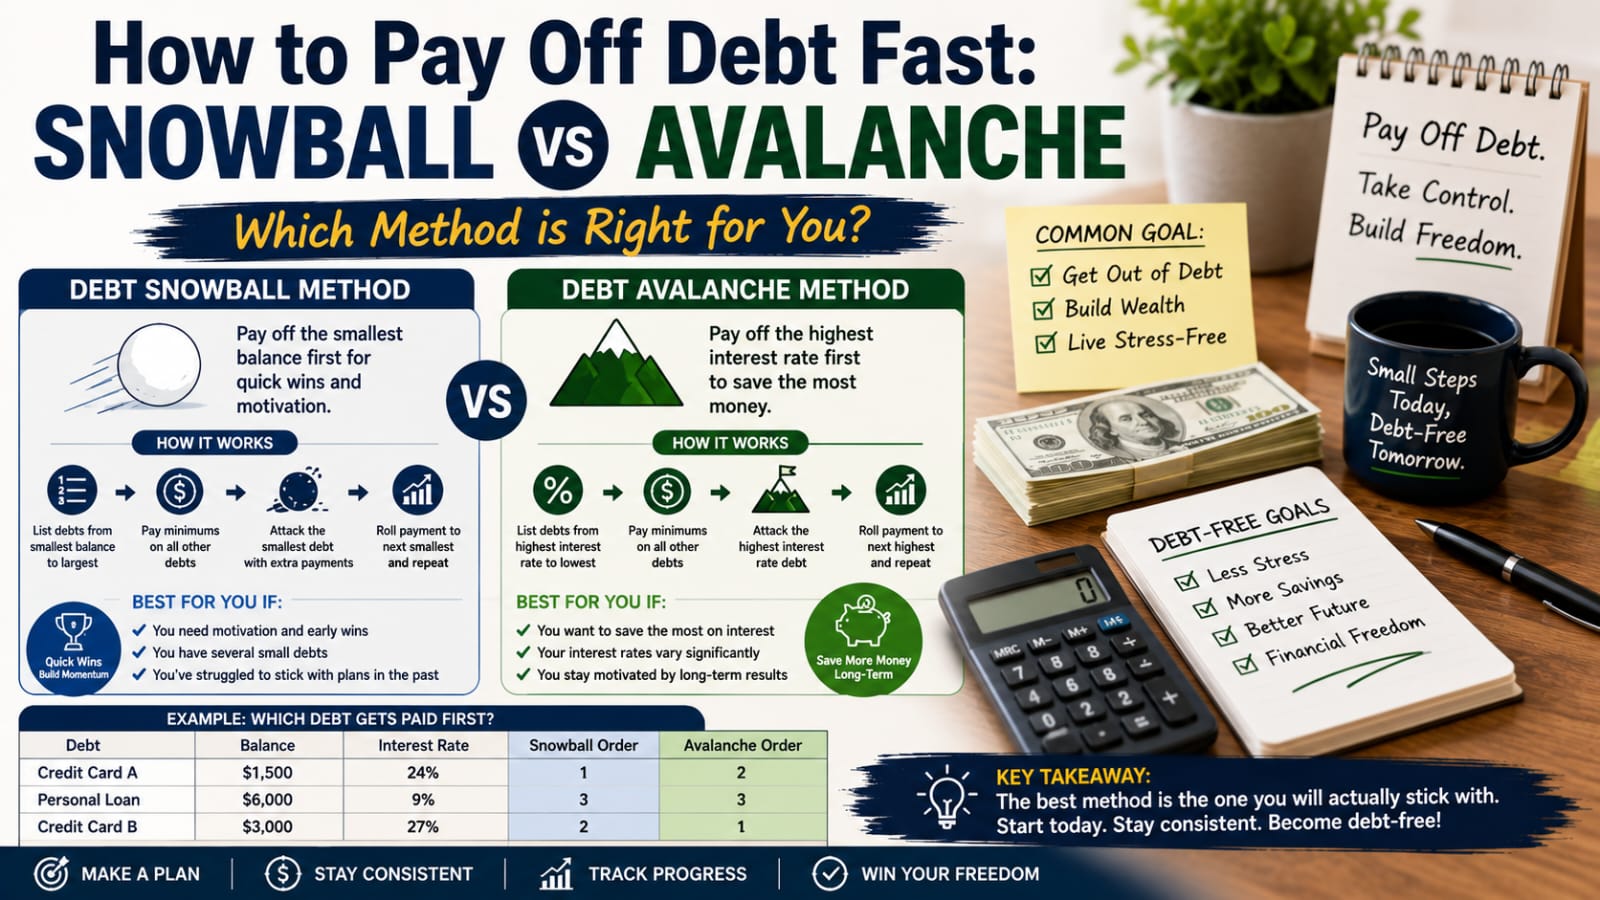
A common question is whether to build an emergency fund first or focus entirely on paying off debt. A reasonable middle ground works well for most people: build a small starter fund of $500-$1,000 first, then shift focus primarily toward debt repayment, while still contributing a small amount to your emergency fund each month. Once high-interest debt is cleared, redirect that full payment amount toward building your fund up to the full three to six month target.
This approach prevents new debt from being created by unexpected expenses while you are working to pay off existing debt, without leaving you saving so slowly that you make no meaningful progress against interest charges.
Final Thoughts
An emergency fund is one of the most underrated tools in personal finance, precisely because its value only becomes obvious the moment you actually need it. Building one from zero does not require a large income or years of perfect saving. It requires a separate account, a small first target, automated consistency, and the discipline to protect it once it exists.
Start today, even if it is with just $10 or £10. The goal is not perfection from day one. It is building a habit and a buffer that will quietly protect you from turning life’s inevitable surprises into long-term financial setbacks.
Frequently Asked Questions
How much should be in a starter emergency fund? Most guidance suggests $500-$1,000 (or roughly £400-£800) as a realistic and effective first target, enough to cover most common minor emergencies.
Should I pay off debt or build an emergency fund first? A balanced approach works best for most people: build a small starter fund first, then prioritize high-interest debt repayment while maintaining minimal ongoing contributions to the fund.
Where should I keep my emergency fund? A separate, easily accessible high-yield savings account is ideal, offering both liquidity and some interest growth without exposing the money to market risk.
How many months of expenses should an emergency fund cover? The commonly recommended range is three to six months of essential expenses, though this can vary based on job stability, whether income is irregular, and household circumstances.
How to Build an Emergency Fund From Scratch (Even on a Tight Budget)


Leave a Reply